1Get undressed from the waist down. Wash hands with soap and water. Dry.

2To remove swab from tube, hold the red cap and pull. Put outer tube on a clean surface.

3Hold the swab at the red dotted line, not by the red cap. Holding the swab at the line will help you insert it to the proper depth. Do not touch the swab’s soft tip.

4Stand or sit with legs apart. Use your other hand to fold back the skin that covers the opening of your vagina.

5Gently insert swab into your vagina up to the red line (where your fingers are holding). Rotate for 20 seconds (set a timer or say the alphabet). If the swab is difficult to insert, do not force it. Try to squat or raise your leg and re-insert.

6Remove swab from vagina. Place swab in outer plastic tube and close firmly. You will hear a click when the tube is closed.

7Wash hands with soap and water. Dry.

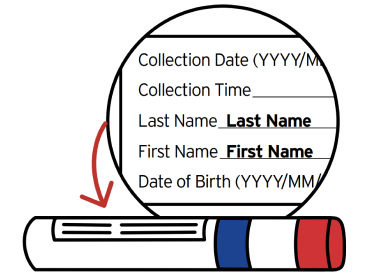
8Find the specimen label pre-printed with your name and date of birth (not the label already on the swab tube). Write the date and time of your collection on the label as clearly as possible. Stick label onto tube in the same direction as existing tube label. Your sample will be rejected if this step is not completed.

9Place the securely capped sample tube in the clear plastic ziptop bag found in your kit.

10Clearly write date and time of collection on request form provided with this kit. Place folded request form inside clear ziptop bag.

11Seal ziptop bag completely. Place fully sealed ziptop bag into white kit box provided. Tape box shut.

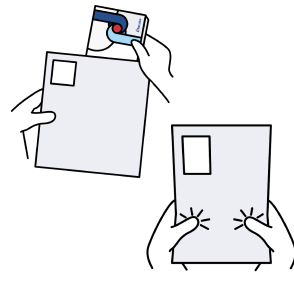
12Place box inside plastic mailer (envelope). Squeeze mailer to force air out. Do not fold mailer tightly around box and do not use extra tape. Seal mailer at the top. Ensure return label is clearly legible on mailer.


 Return to collection guide
 How to collect a sample
